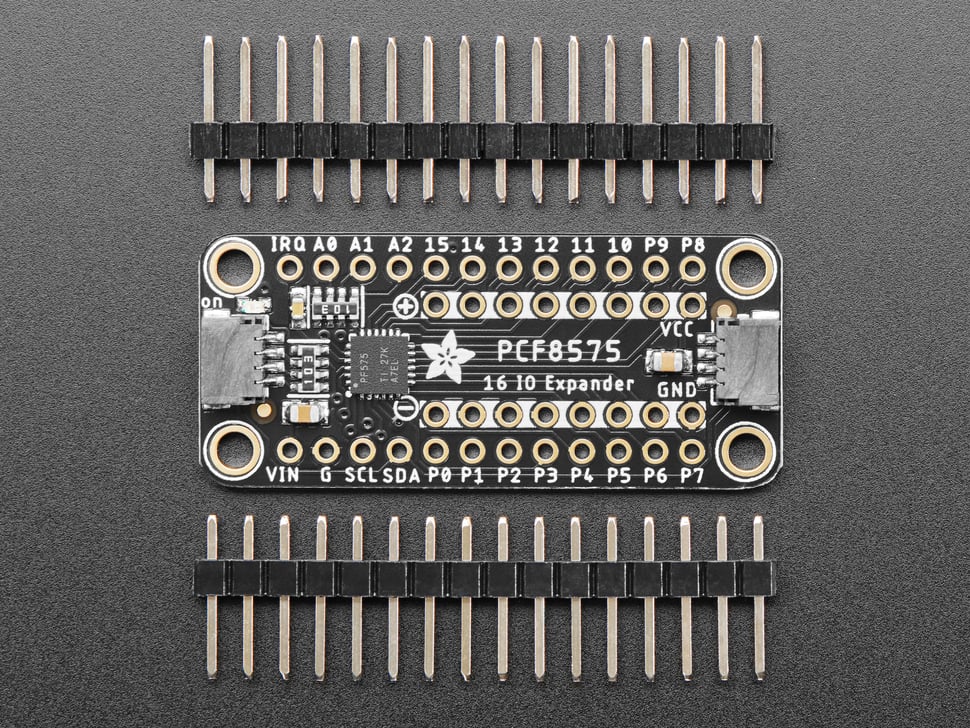


Description
Expand your project possibilities, with the Adafruit PCF8575 GPIO Expander Breakout - an affordable 16 channel I2C expander.
GPIO expanders work like this: you have a board with some number of GPIO but not enough for your project - maybe you need more buttons or LEDs. You could upgrade to a board with massive number of GPIO like the Grand Central, or you could pop on one of these boards. Connect it over I2C and then you can send/receive I2C commands to control the GPIO pins to write and read them. It's going to be slower than direct GPIO access, but maybe that doesn't matter if it takes a millisecond instead of a microsecond. You only need the two I2C pins, and you can even share the I2C port with other sensors and devices. Heck, you can even add more expanders for massive I/O control!
The PCF8575 is a common and slightly unusual I2C expander for folks who are used to the MCP230xx series:
- First up, it's very affordable - who doesn't love that?
- It has 16 I/O pins
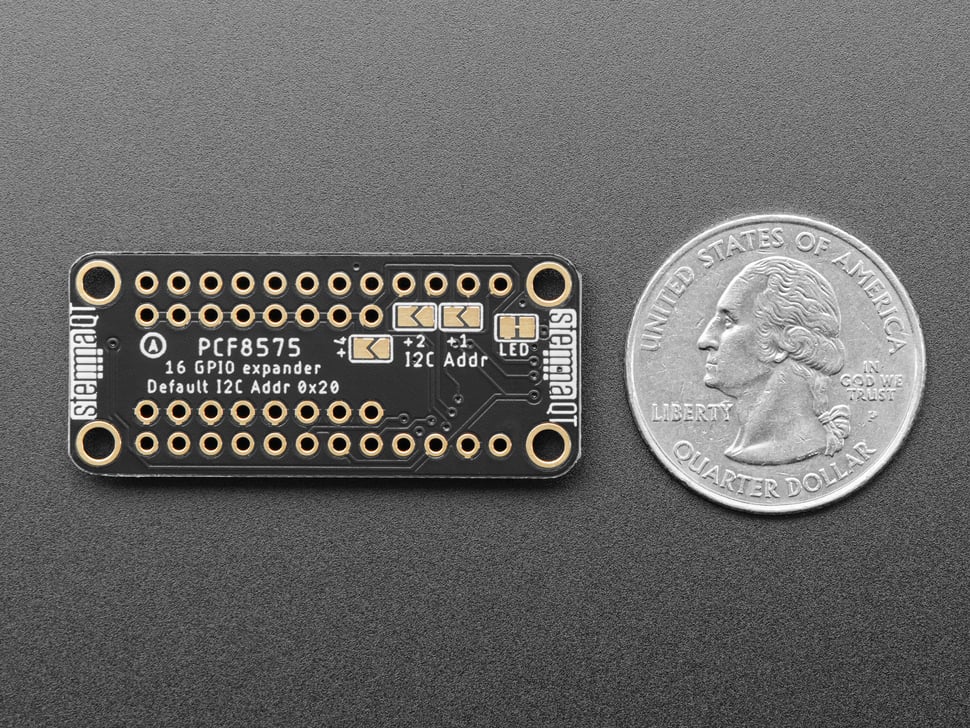
- Three I2C address select jumpers mean up to 8 expanders to one bus for 128 total GPIO added
- Each pin can be an input with light pull-up or an output sink
- IRQ output will automatically alert you when input pins change value
- This chip does not have a pin direction register. You cannot set the pins as input or output - instead, each pin has two possible states. Basically, you can think of it as an open-drain output with a 100K resistor pull-up built in.
- Option one: Lightly pulled up 'input' - by default it will read as a high logic level, but connecting the GPIO to ground will cause it to read as a low logic level.
- Option two: Strong 20mA low-driving transistor sink output. This means the output is 'forced' to be low and will always read as a low logic level.
The pin direction / state thing is a little odd but it actually works fine for many purposes as long as you know what to expect.
For example, if you want to read a button or switch, connect one side to the PCF and the other side to ground. Then set the pin to 'light pull-up input' When the button is pressed it will read low, when released it will read high.
If you want to control an LED, connect the anode to positive voltage through a resistor. When the PCF pin is set to 'light pull-up input' the LED will be off. When the PCF pin is set to 'strong ground output' the LED will connect to ground and turn on.
If you want to send a GPIO output logic level to some other device or peripheral, the light pull-up acts as high logic out, the strong ground output acts as low logic out.
If you want to receive a GPIO input logic level, set the pin to light pull-up and then read the pin to determine if the GPIO input is high or low.
Basically, the only thing to watch for is you cannot drive an LED that is expecting the expander GPIO to go high to turn on the LED or connect a button input to a positive voltage without adding an additional pull-down resistor. If this is a bit confusing, worry not - all this stuff is taken care of for you in our Arduino PCF8574/5 library or CircuitPython/Python PCF8575 library - you can pretend it has input/output modes and the library will fake out what you are expecting.
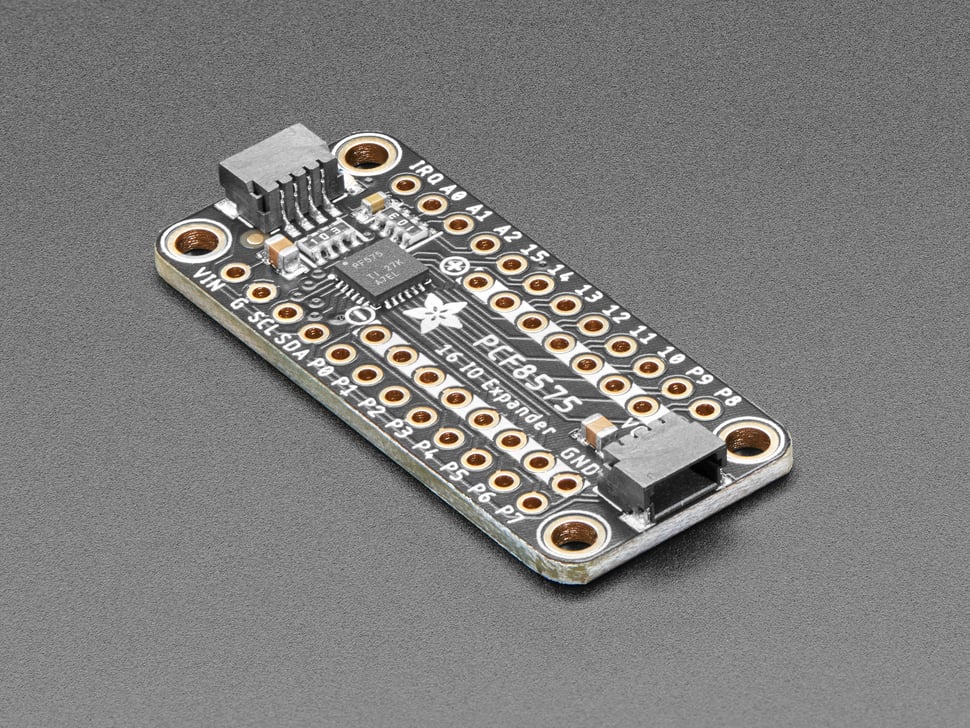
To get you going fast, we spun up a custom-made PCB in the STEMMA QT form factor, making it easy to interface with. The STEMMA QT connectors on either side are compatible with the SparkFun Qwiic I2C connectors. This allows you to make solderless connections between your development board and the PCF8575 or to chain it with a wide range of other sensors and accessories using a compatible cable.
QT Cable is not included, but we have a variety in the shop.