Description
You just found the perfect I2C sensor, available in a handy chainable Qwiic, or STEMMA QT package, and you want to wire up two or three or four of them to your microcontroller when you realize "Uh oh, this chip has a fixed I2C address, and from what I know about I2C, you cannot have two devices with the same address on the same SDA/SCL pins!" Are you out of luck? You would be, if you didn't have this ultra-cool Adafruit PCA9546 4 Channel STEMMA QT / Qwiic I2C Multiplexer!
Finally, a way to get up to 4 same-address I2C devices hooked up to one microcontroller - this multiplexer acts as a gatekeeper, shuttling the commands to the selected I2C port with your command. If you need to have up to 8 multiplexed devices, check out the 8-channel PCA9548 version of this board.
In case you're wondering why this uses the PCA9546 and not the TCA9546A, the PCA9546 is the 'fraternal twin sister' of the TCA9546 but is easier to get during the great chip shortage of 2022. It works exactly the same, just can't go down to 1.8V power which is OK because QT boards are 3V or 5V only anyways. You can still use any example code or library for the TCA9546 or TCA9548
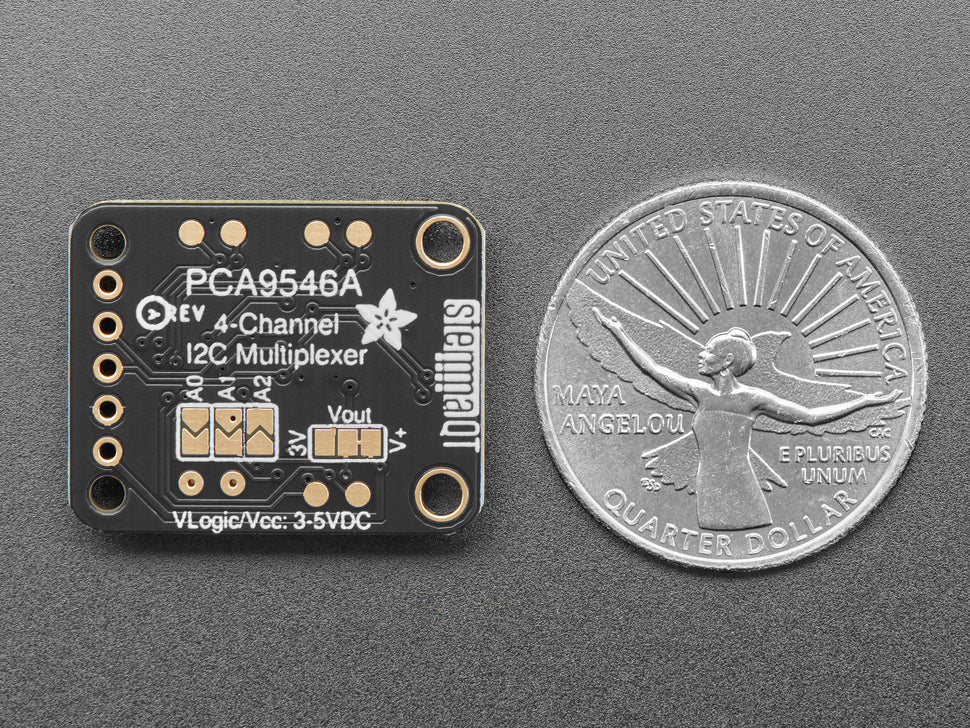
Using it is fairly straight-forward: the multiplexer itself is on I2C address 0x70 (but can be adjusted from 0x70 to 0x77 using jumpers on the back) and you simply write a single byte with the desired multiplexed output number to that port, and bam - any future I2C packets will get sent to that port. In theory, you could have 8 of these multiplexers on each of 0x70-0x77 addresses in order to control 4*8 = 32 of the same-I2C-addressed-part.
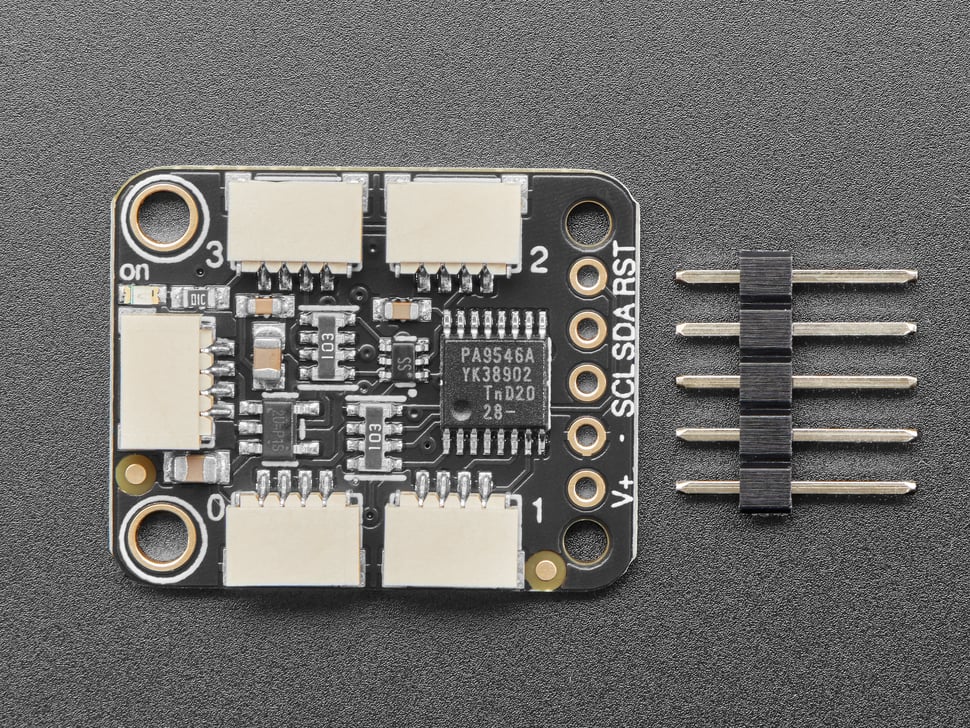
The Adafruit STEMMA QT / Qwiic PCA9546 Breakout - 4 Channel has five JST SH 1mm connectors: 1 input and 4 outputs. There's one port at the end that connects to your I2C controller (there are also breadboard breakout pins if you need them). Use this breakout to add as many I2C devices to the bus as you need. Complete with mounting holes so the board can be added to any system. A small power LED lets you know that the hub board has connectivity.
There's even an onboard 3.3V 500mA regulator, so if you're using this with a 5V microcontroller like an Arduino 328-compatible, you can level shift all the QT ports to have 3V power and logic level. Simply cut/solder the jumper on the bottom of the PCB to change the power and logic level to be forced 3V.
Of course, because STEMMA QT is Qwiic compatible, it will work with any and all STEMMA QT or Qwiic boards and parts we have in the Adafruit shop.
Comes with only the assembled PCB, no cables or sensors included (we have tons available though!)

